Want a compact sauna at home? Here's everything you need to know to plan and install one safely and efficiently.
- Measure Your Space: Ensure accurate dimensions, accounting for clearances, electrical outlets, and ventilation needs.
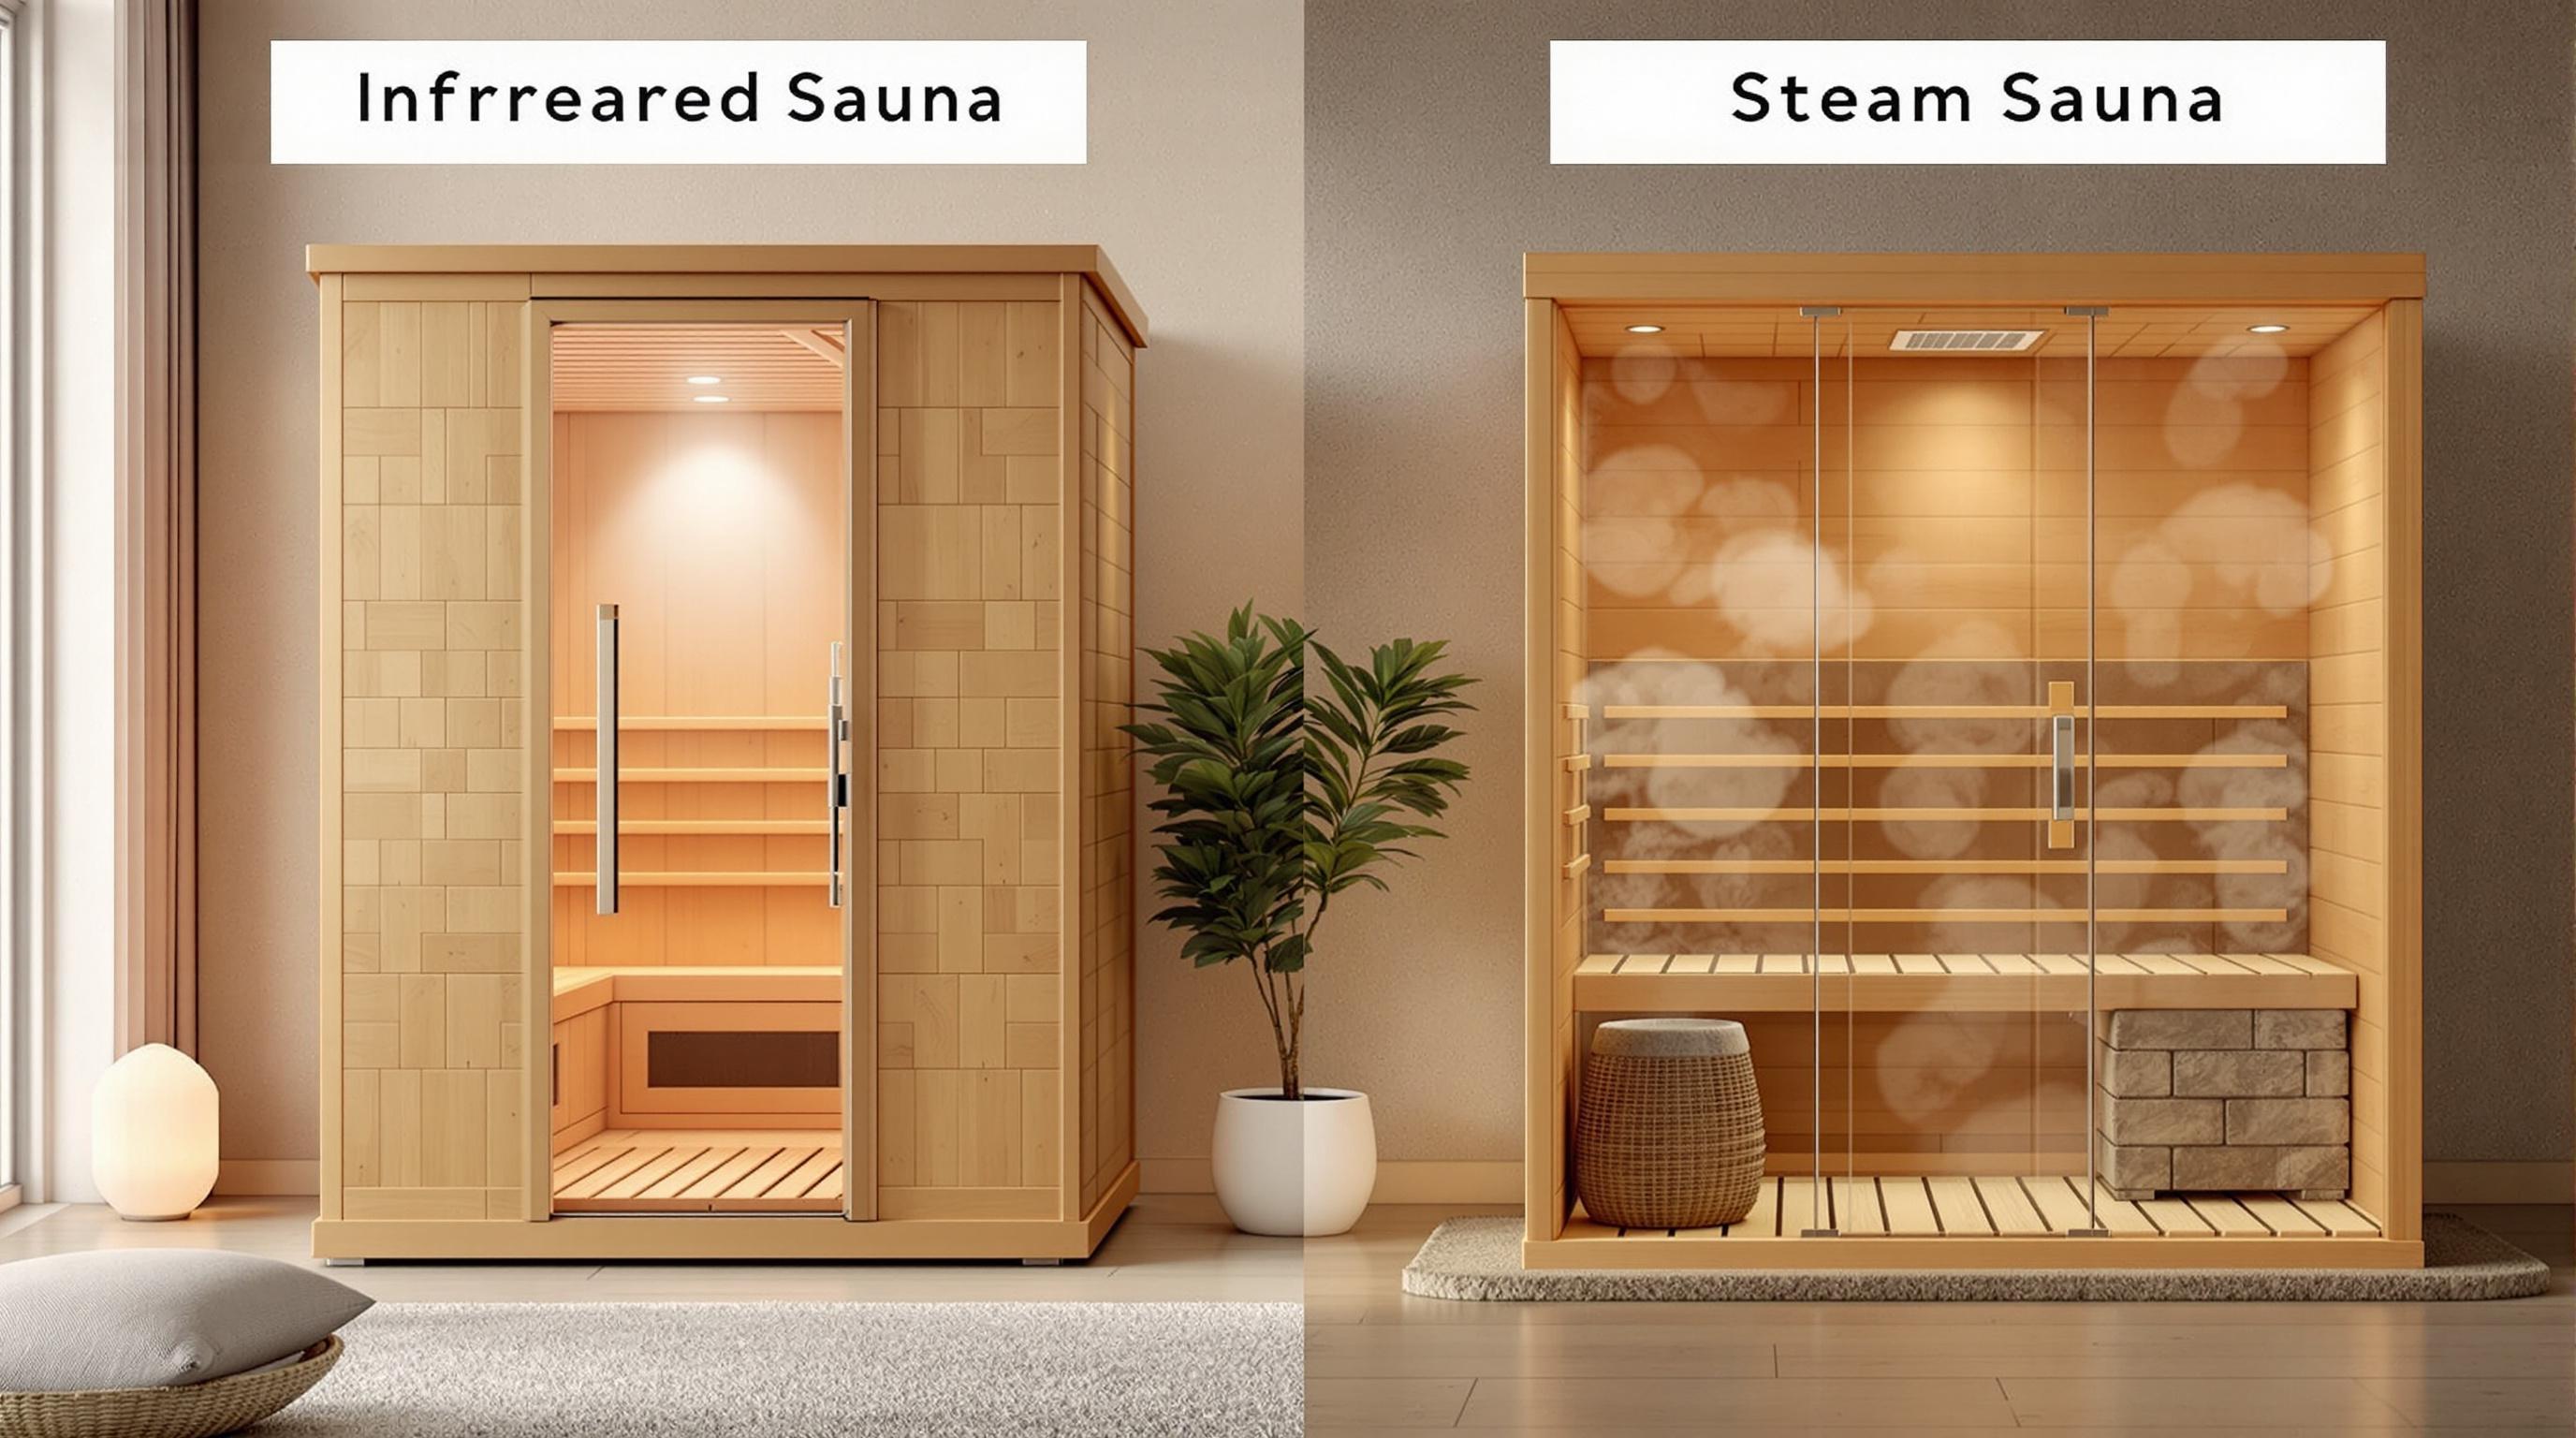
- Choose a Sauna Type: Infrared (small, simple setup), Steam (medium size, higher power), or Traditional (larger, moderate complexity).
- Plan Layout: Prioritize ventilation, access, and electrical setup for safety and comfort.
- Install Proper Ventilation: Ensure 6 air exchanges per hour, with intake vents near the heater and exhaust vents higher up.
- Electrical Requirements: Use dedicated circuits - 110-120V for small saunas, 220-240V for larger ones.
- Materials: Use moisture-resistant woods like cedar or spruce, and heat-rated wiring for safety.
- Maintenance: Regularly clean, inspect electrical systems, and maintain ventilation for long-term use.
| Sauna Type | Space Needed | Voltage | Amperage | Installation Complexity |
|---|---|---|---|---|
| Infrared | 3x3 ft | 110-120V | 15 amps | Simple |
| Steam | 4x4 ft | 220-240V | 20-30 amps | More involved |
| Traditional | 5x5 ft | 220-240V | 20-30 amps | Moderate |
Pro tip: Regular maintenance and correct setup ensure safety and maximize your sauna's benefits. Ready to start? Dive into the detailed steps below.
Build an Indoor Sauna: Step-by-Step Professional Installation Guide
Steps to Plan Your Sauna Installation
Planning a sauna installation in a small space takes careful preparation and attention to detail. Follow these steps to make sure your sauna fits perfectly while meeting safety and functionality standards.
Measure Your Space Accurately
Accurate measurements are key to a smooth sauna installation. Start by measuring the available floor space, ceiling height, and noting any obstacles. Pay attention to:
- Fixed Elements: Include details about electrical outlets, windows, doors, and permanent fixtures.
- Clearance Areas: Leave enough room for proper ventilation and easy access.
- Service Points: Identify spots for electrical connections and ventilation systems.
Record both the total and usable space, factoring in required clearances. Once you have these details, you'll be ready to choose the right sauna type.
Pick the Best Sauna Type for Your Needs
The type of sauna you choose will determine how much space you need and how complex the installation will be. Here's a quick comparison:
| Sauna Type | Space Needed | Installation Complexity | Power Requirements |
|---|---|---|---|
| Infrared | Small (about 3x3 ft) | Simple | 110-120V |
| Steam | Medium (around 4x4 ft) | More involved | 220-240V |
| Traditional | Larger (about 5x5 ft) | Moderate | 220-240V |
Infrared saunas are a great choice for tight spaces because they require less ventilation and have simpler electrical needs [2][4]. Once you've picked your sauna, you can move on to planning the layout.
Create a Layout for Your Sauna
A smart layout ensures you make the most of your space while keeping things comfortable and functional. Focus on these elements:
- Ventilation: Place intake vents near the floor and exhaust vents higher up to maintain proper airflow [1][3].
- Access and Safety: Include easy access, non-slip flooring, and adequate seating. Control panels should be within easy reach.
- Electrical Setup: Make sure your sauna has a dedicated circuit. Most models require between 15 and 20 amps, depending on the type [5][2].
Step-by-Step Installation Checklist
Build the Frame and Gather Materials
Start by constructing the frame using moisture-resistant wood like cedar or hemlock. Add a vapor barrier to prevent moisture buildup. Use corrosion-resistant screws to secure joints, and leave space for ventilation ducts and electrical conduits. This setup creates a solid foundation for a durable sauna.
Set Up Heating and Electrical Systems
For small saunas (3x3 ft), you'll need 110-120V and 15 amps. Medium to large saunas (4x4 ft or larger) require 220-240V and 20-30 amps. All saunas must have a dedicated circuit to ensure safety and efficiency. Use heat-resistant wiring, install the heater as per the manufacturer's instructions, and position the control panel outside the sauna for easy access.
| Sauna Size | Voltage Required | Amperage | Circuit Type |
|---|---|---|---|
| Small (3x3 ft) | 110-120V | 15 amps | Dedicated |
| Medium/Large (4x4 ft+) | 220-240V | 20-30 amps | Dedicated |
Install Panels, Insulation, and Finishing Details
Begin with reflective insulation or foam board, then apply a vapor barrier, making sure to overlap seams. Attach wall panels from the bottom up, sealing joints and corners with heat-resistant caulk. Add benches and other interior fixtures, ensuring the ventilation system supports at least one air exchange per hour [1]. Before finishing, test all electrical connections and ventilation to confirm everything works properly.
Once installed, your sauna will deliver reliable performance for years. Regular upkeep and correct use will help you get the most out of your investment.
sbb-itb-3953eb0
How to Manage Ventilation and Airflow
Good ventilation is crucial in smaller saunas, where limited space can make moisture and air quality issues more noticeable. Ideally, sauna air should exchange 6 times per hour [3].
Place the Intake Vent Correctly
Position the intake vent within 12 inches of the sauna heater, close to the floor. This setup lets fresh air flow through the heating element, creating natural convection to evenly spread heat throughout the space. For every 50 cubic feet of sauna space, include one intake vent [1].
| Ventilation Component | Location and Purpose |
|---|---|
| Intake Vent | Near the heater at floor level to bring in fresh air and evenly distribute heat |
| Exhaust Vent | On the ceiling or upper wall to remove stale air and moisture |
| Additional Vents | Add as needed to maintain proper air exchange rates |
Install the Exhaust Vent Properly
Place the exhaust vent on the opposite wall from the heater, either near or on the ceiling. To ensure smooth airflow, the exhaust vent should be twice the diameter of the intake vent [1][3]. For saunas in basements or enclosed spaces, consider a mechanical exhaust system if natural ventilation doesn’t suffice.
"Without proper ventilation, CO2 levels in a sauna can reach twice the recommended exposure level of 1,000 PPM, leading to fatigue and potential health risks" [3].
Keep your sauna's ventilation system working efficiently by following these tips:
- Check airflow before each session to ensure the air quality is safe.
- After using the sauna, run ventilation to fully dry the space.
Tips for Safety and Comfort
Choose the Right Materials for Your Sauna
The materials you use in a compact sauna play a big role in both safety and durability. Since the space is smaller, the heat and moisture can have a more intense impact. Woods like cedar, spruce, and aspen work well for interior paneling, each offering specific advantages:
| Material | Benefits |
|---|---|
| Cedar | Naturally resists moisture and lasts longer |
| Spruce | Handles heat well and is budget-friendly |
| Aspen | Smooth, splinter-free, and safe to touch |
For electrical components, stick to high-temperature-rated wiring and use protective conduits to prevent damage. Avoid household wiring or adhesives that might emit harmful fumes when exposed to heat [2].
Keep Your Sauna in Top Shape
Regular maintenance is key to a safe and efficient sauna experience. Here’s how to stay on top of it:
Quarterly Safety Checks:
- Inspect electrical connections and heating elements.
- Clean and ensure proper ventilation system function.
- Check the stability of benches and their surface condition.
- Test the thermostat to confirm it’s working correctly.
Ongoing Care:
- Wipe down benches and walls with suitable cleaners after every use.
- Keep a maintenance log to track inspections and repairs.
- Watch humidity levels, especially in compact, enclosed setups.
Because compact saunas concentrate heat and moisture in a smaller area, regular care is even more important. Staying on top of maintenance ensures your sauna stays safe, efficient, and lasts longer.
Helpful Resources for Sauna Installation
Getting the right resources can make your sauna installation process much easier. Check out Find the Home Sauna of Your Dreams for comparisons, installation advice, and detailed technical specs. This site offers step-by-step guidance, from designing the layout to completing the setup.
Need help with technical details? Review earlier sections on ventilation systems and electrical requirements to ensure your sauna is both safe and efficient.
For more complex tasks, like wiring or ventilation, it's a smart move to hire licensed professionals, such as electricians or HVAC specialists. They’ll make sure your installation complies with local building codes and safety standards.
Conclusion: Key Points for a Successful Sauna Setup
Creating a sauna in a small space requires attention to a few critical details. Ventilation is key for both safety and comfort. Aim for at least one full air exchange per hour [1]. Place intake vents near the heater, about 4 inches from the floor, and position exhaust vents roughly 6 inches below the ceiling for the best airflow [1][6].
Electrical safety should never be overlooked. Use a dedicated circuit that matches the heater's voltage and amperage requirements. All wiring must be rated for high temperatures and moisture and enclosed in proper conduit [2][4]. Hiring a licensed electrician ensures everything complies with safety regulations.
Thoughtful planning is the backbone of a good installation. Measure carefully and design your layout to fit ventilation and electrical needs. If space is tight, infrared saunas are a great option since they take up less room and use less energy.
Ongoing maintenance keeps your sauna running smoothly. Clean it regularly and check the electrical and heating systems. A well-functioning ventilation system, with one vent per 50 cubic feet of space [1], helps prevent moisture buildup and keeps the environment comfortable.
If you're installing an outdoor sauna, remember that it will need stronger ventilation and extra insulation to handle temperature and humidity fluctuations [1]. For added safety and control, include a lockable vent above the sauna door.