A safe and durable outdoor sauna starts with proper preparation. Here’s what you need to know:
- Foundation Options: Choose between concrete slabs (most stable), wooden decks (flexible), or concrete pavers (budget-friendly).
- Key Requirements: Ensure stability, proper drainage, weight support, and insulation for energy efficiency.
- Best Materials: Use Western Red Cedar for walls (moisture-resistant) and pressure-treated lumber for frames.
- Site Preparation: Pick a flat spot with good drainage, check soil weight capacity, and follow local building codes.
- Ventilation & Safety: Install intake and exhaust vents for airflow, maintain 3 feet of clearance around the sauna, and use GFCI-protected electrical systems.
Quick Tip: A well-built foundation (slightly smaller than the sauna) prevents water pooling and ensures long-term stability. Follow these basics to avoid costly repairs and enjoy your sauna for years.
Steps to Assess Your Site Before Installing an Outdoor Sauna
Choosing the Right Location
Pick a flat, stable spot with good natural drainage to avoid structural problems. Stay away from areas with too much direct sunlight to prevent uneven wear over time. A wind-sheltered location helps keep heat inside the sauna. Make sure there's enough space for easy entry, with doors at least 32 inches wide to meet accessibility standards [5].
Checking the Ground's Weight Capacity
Your foundation must handle the sauna's full weight. Different ground types need specific preparation:
| Ground Type | Preparation Needed |
|---|---|
| Solid Soil | Little to no extra work required |
| Sandy Soil | Compacting and stabilization needed |
| Clay Soil | Requires drainage solutions |
| Sloped Ground | Needs leveling and drainage planning |
If you're placing the sauna on a wooden deck, ensure it's reinforced and treated for outdoor conditions to handle the sauna's concentrated weight [1]. For an accurate assessment of weight capacity, professional soil testing is a good option.
Understanding Local Building Rules
Check your local building codes for:
- Zoning laws and setback requirements
- Electrical installation guidelines
- Fire safety standards
- Foundation requirements
Reach out to local authorities to confirm if permits are necessary, as rules can vary depending on your location [3]. A well-designed foundation is key to preventing moisture problems and keeping the structure solid.
Once you've reviewed the location, weight capacity, and local regulations, you’ll be ready to prepare a sturdy foundation for your sauna.
Preparing the Foundation for Your Outdoor Sauna
Types of Foundations to Consider
Picking the right foundation is key to keeping your outdoor sauna stable and functional for years. Here's a breakdown of the main options:
| Foundation Type | Pros | Things to Keep in Mind |
|---|---|---|
| Concrete Slab | - Offers top-notch stability - Long-lasting and durable - Handles moisture well |
- Needs professional installation - More expensive upfront - Permanent setup |
| Wooden Deck | - Easier to set up - Works well on uneven ground - More placement options |
- Requires weatherproofing - Needs ongoing upkeep - Must support the sauna's weight |
| Concrete Pavers | - Budget-friendly - Simple to adjust later |
- Less stable than a solid slab - Can shift over time - Requires precise leveling |
Steps to Prepare the Foundation
A properly prepared foundation keeps your sauna safe from shifting and water damage. Here's how to get started:
1. Ground and Soil Preparation
Clear the area and compact the soil to create a solid base. Dig out about 6 inches of soil and use a tamper or plate compactor to compress it thoroughly [1].
2. Gravel Base Installation
Spread a layer of gravel and compact it to improve drainage and provide extra stability [1].
These steps help ensure your foundation is ready to handle the sauna's weight and environmental challenges.
Planning for Size and Drainage
Make the foundation slightly smaller than the sauna's footprint (by 1-2 inches) to stop water from pooling around the edges. Keep these tips in mind for drainage:
- Ensure the foundation is at least 4-6 inches deep.
- Add a slight slope (1-2%) to direct water away from the sauna.
- Consider adding drainage channels around the perimeter for extra water management.
"Having the foundation built by a specialist ensures quick and easy installation and prevents problems due to heavy weight, moisture, or frost", according to Infraworld's installation guidelines [3].
Materials and Structural Features for Outdoor Saunas
Best Materials for Frames and Walls
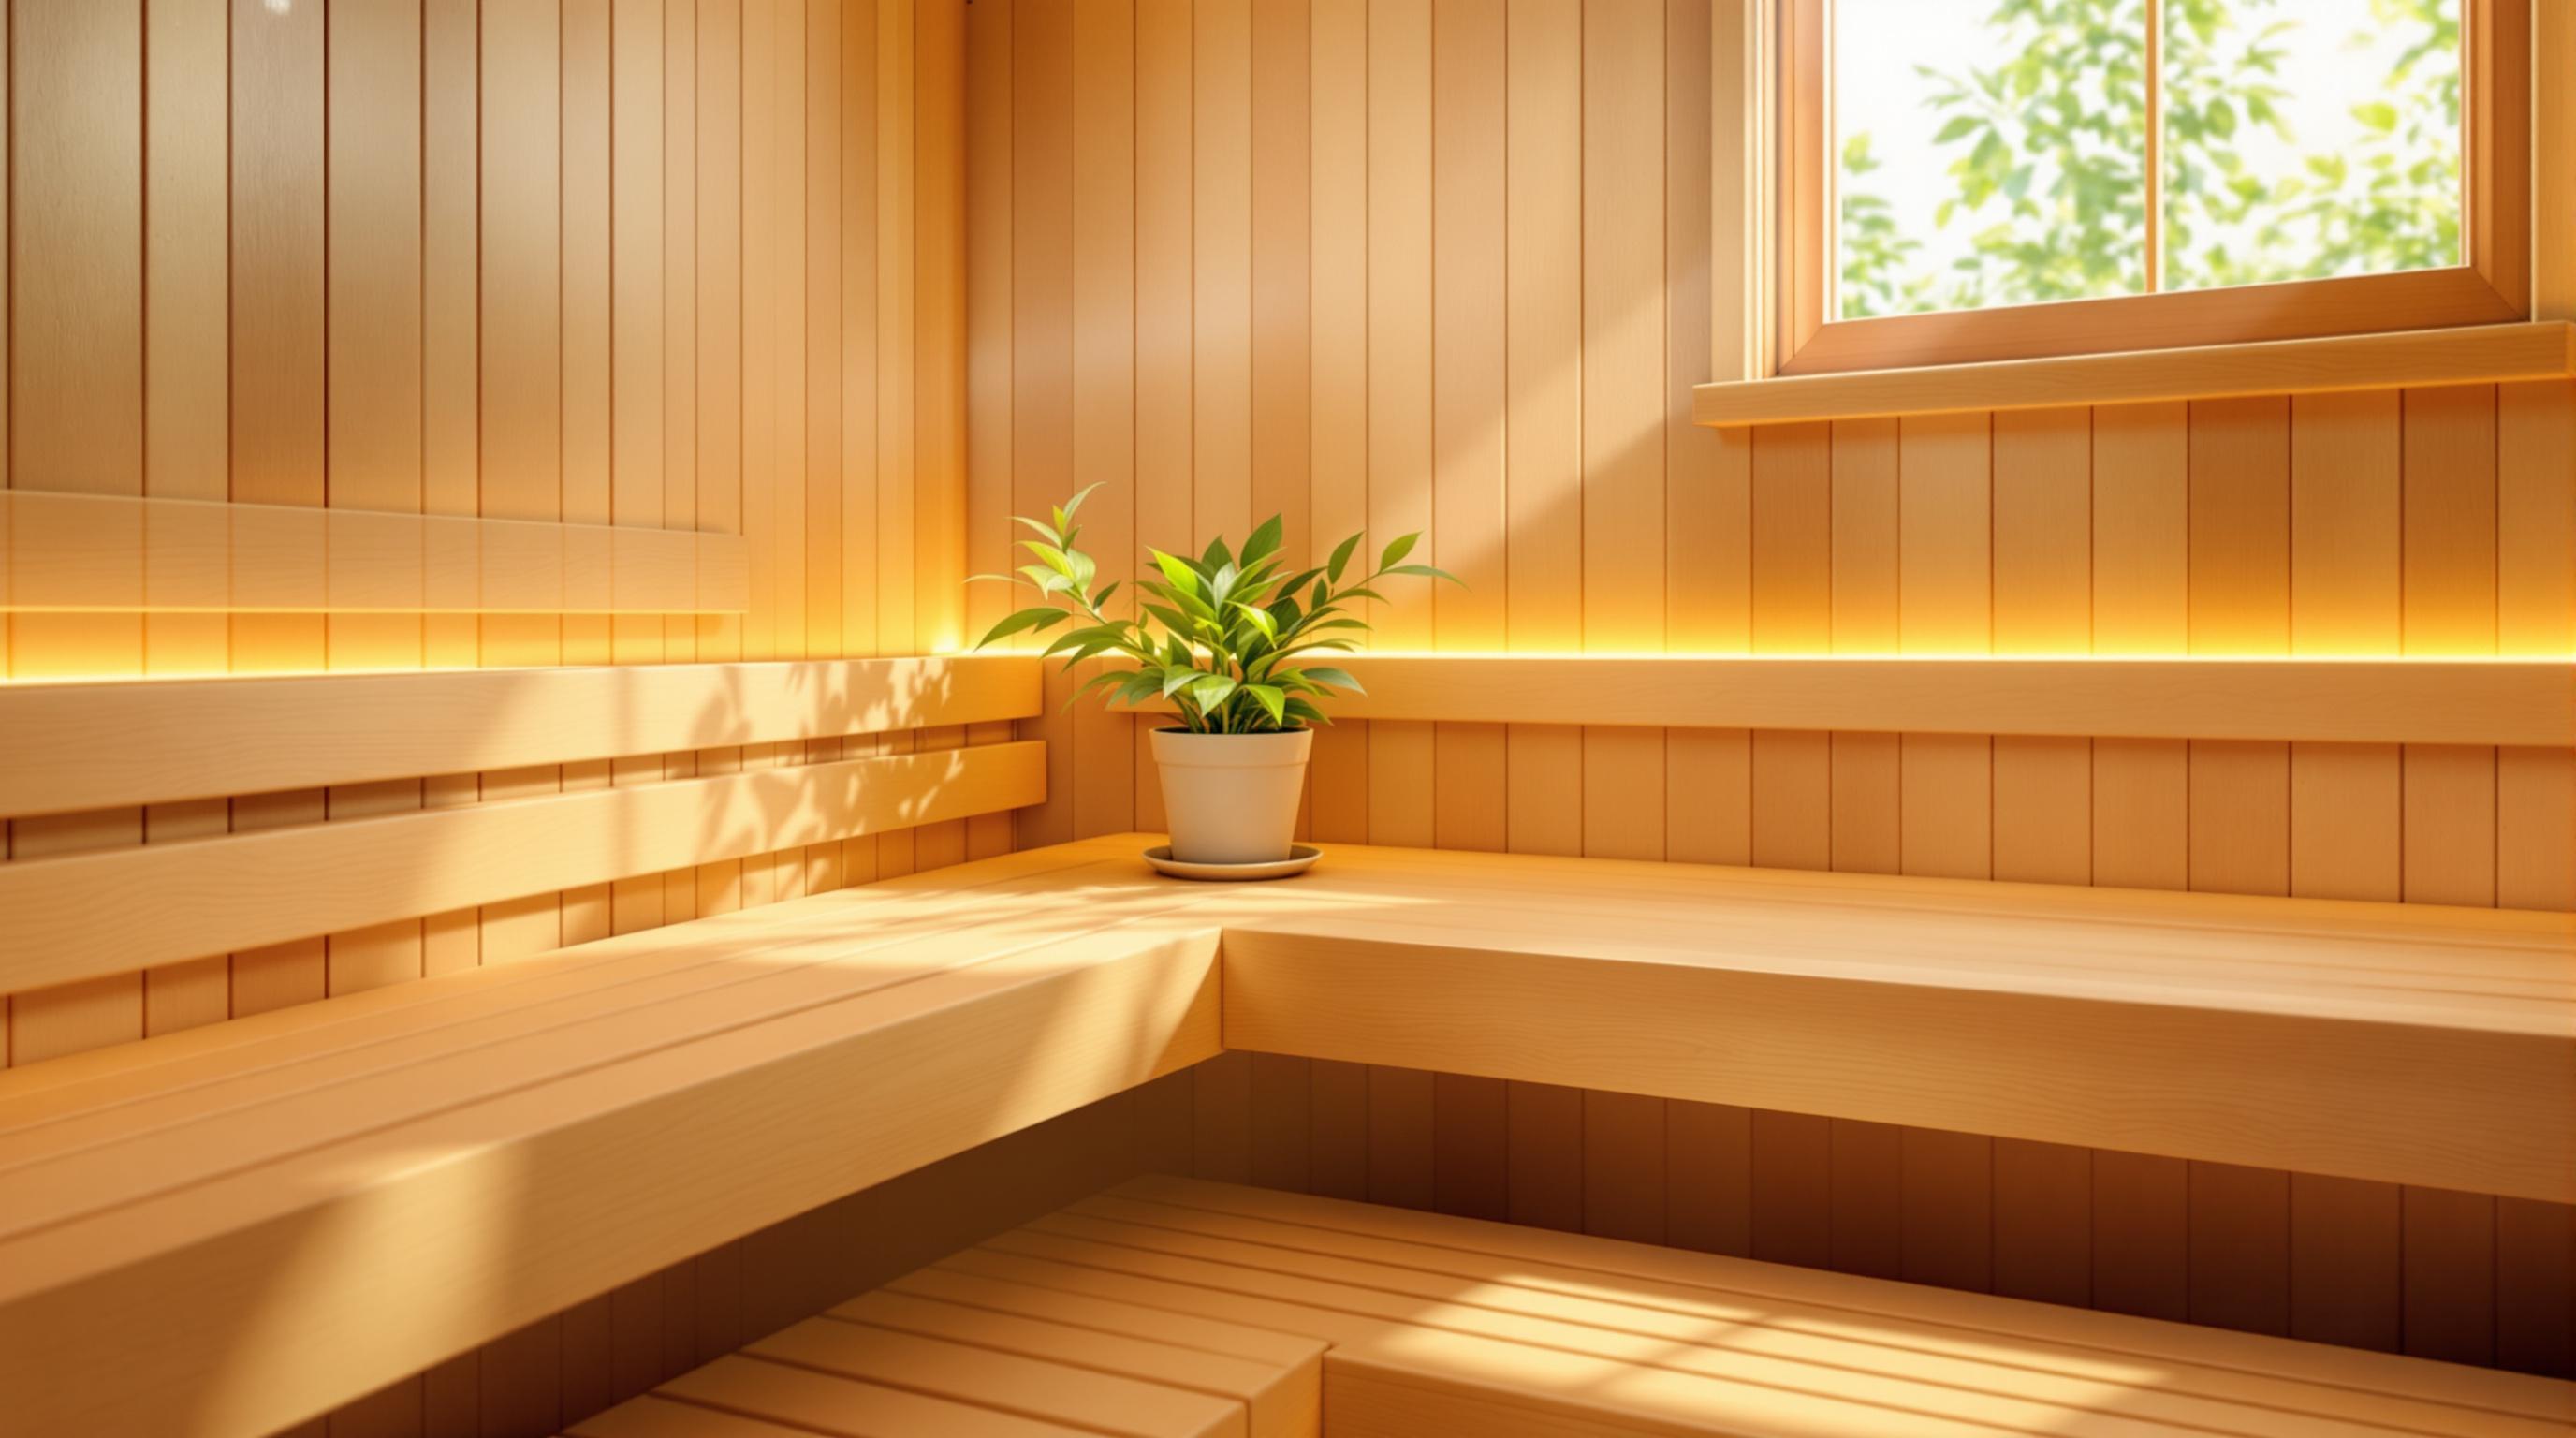
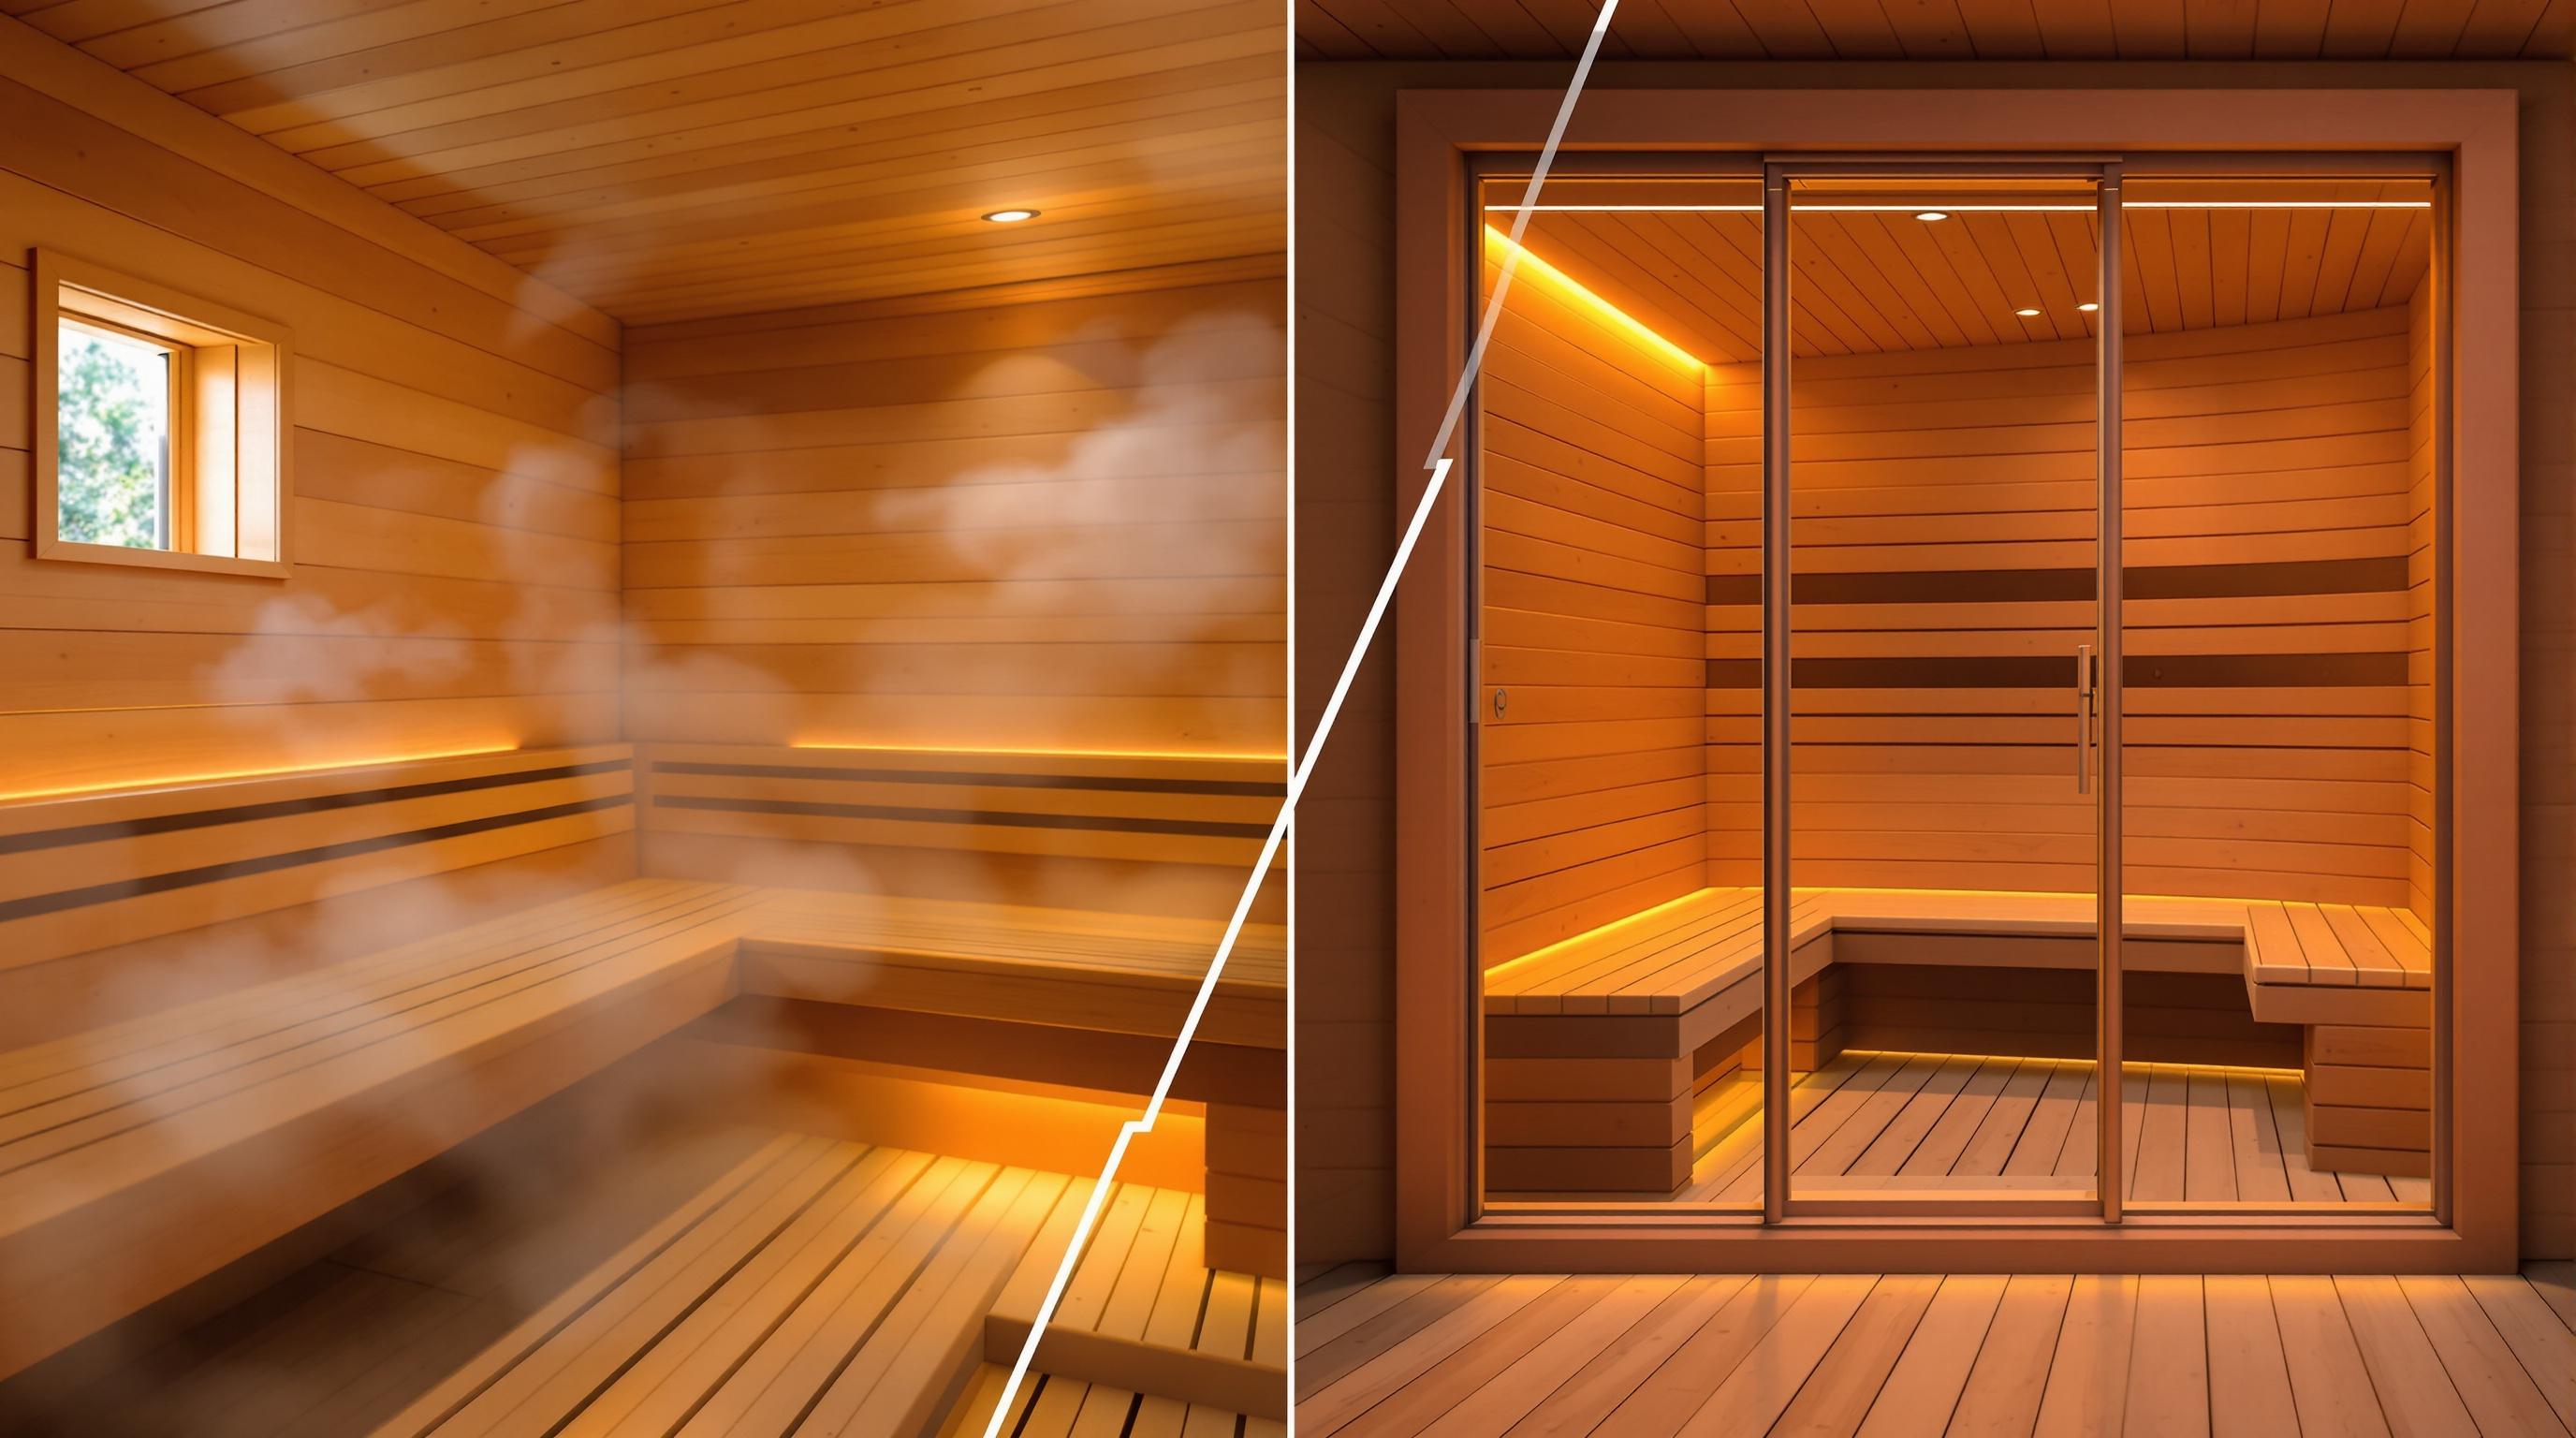
When building an outdoor sauna, Western Red Cedar stands out for wall panels. It naturally resists moisture and decay while offering a pleasant aroma. For the frame, thermally treated wood is a great choice; it’s durable, stable, and handles moisture well. Need support beams? Pressure-treated lumber is your go-to - it’s sturdy and can handle ground contact without breaking down.
Choosing the right materials is just the start. Insulation is key to keeping the sauna warm and efficient.
Adding Insulation for Heat Retention
Good insulation keeps your sauna’s temperature steady. Materials like fiberglass or mineral wool paired with a vapor barrier are perfect for handling heat and moisture. To avoid condensation and boost efficiency, leave a small air gap between the insulation and the interior paneling.
Once the insulation is in place, sealing everything properly is the next step to lock in the heat.
Sealing Doors and Windows Properly
To prevent heat loss, use double-pane tempered glass for doors and windows. Pair these with weather-resistant frames and seal everything with high-temperature caulk. This ensures the seals won’t break down under sauna conditions. For ventilation parts, materials like aluminum or galvanized steel work best - they resist moisture and last longer [2].
Ventilation and Safety Tips for Outdoor Saunas
Setting Up Ventilation Systems
Good ventilation is key to keeping your sauna comfortable and protecting it from moisture damage. Place the intake vent below the heater to bring in fresh air, and set up an exhaust vent about 2 feet above the floor on the opposite wall. This setup helps air circulate efficiently. Watch out for signs like condensation on windows or damp walls - these could mean your ventilation needs improvement.
Once your ventilation is sorted, it’s time to focus on electrical safety.
Ensuring Electrical Safety
Make sure all electrical components are GFCI-protected, weatherproof, and professionally grounded. Keep them away from any water exposure. Use waterproof covers for switches and outlets to avoid water damage, and elevate all electrical parts to shield them from ground moisture.
Another important factor for safety is maintaining enough space around your sauna.
Maintaining Clearance Around the Sauna
Leave at least 3 feet of space around your sauna. This ensures proper airflow, makes maintenance easier, and provides a safety buffer from nearby structures. Keep it clear of overhanging tree branches and ensure the ground around it drains well to avoid water pooling.
sbb-itb-3953eb0
Installing and Testing Your Outdoor Sauna
Following Assembly Instructions
Once your foundation is ready, it's time to assemble and test your sauna. Start by reviewing the manufacturer's manual and gathering the necessary tools. Set up a clean, organized workspace to keep all parts easily accessible.
Begin with the base frame. Use a professional-grade level to ensure it's perfectly aligned both horizontally and vertically. Secure the floor joists tightly to create a stable base. Double-check that all measurements match the manufacturer's guidelines.
Finnish Sauna Builders, a well-known manufacturer, highlights the importance of following the correct assembly sequence [1]. The general steps include:
- Installing the base frame and flooring
- Assembling the wall panels
- Mounting the roof structure
- Adding insulation
- Fitting doors and windows
Take photos at each stage for your records - they can be helpful later if maintenance or adjustments are needed.
Testing and Inspecting the Sauna
Before using your sauna, run a thorough test to make sure everything works as it should. Use this checklist to guide your inspection:
| Test Area | What to Check | Warning Signs |
|---|---|---|
| Heating System | Consistent heat distribution | Cold spots or slow heating |
| Ventilation | Effective airflow | Condensation on windows or walls |
| Structure | Stability and proper level | Gaps in joints or uneven flooring |
| Electrical Components | Secure connections and controls | Loose wiring or irregular operation |
When testing the heater, monitor how quickly the temperature rises. A well-installed sauna should reach the ideal range of 165-185°F within 30-45 minutes [2]. Pay attention to any signs of heat loss or uneven heating.
Key safety checks to complete:
- Confirm all electrical connections are grounded and GFCI-protected.
- Make sure ventilation vents are clear and functioning properly.
- Inspect door seals to ensure they close tightly.
- Check for leaks during rainfall to prevent water damage.
If any issues arise, reach out to professional support for assistance. Conducting maintenance checks every 3-4 months will help keep your sauna in top condition over the long term [1].
How to Build Perfect Sauna Floor
Conclusion: Tips for a Safe and Durable Outdoor Sauna
The durability and safety of your outdoor sauna depend on its materials, structure, and regular upkeep. Starting with a solid foundation and using high-quality materials like cedar ensures your sauna stands the test of time. Proper insulation, such as fiberglass or other moisture-resistant options, helps maintain consistent heat and prevents moisture issues [1].
Taking care of your sauna is just as important as building it. Here's a quick guide to key maintenance tasks:
| Maintenance Area | Key Actions |
|---|---|
| Foundation | Inspect for settling or drainage problems every 3 months |
| Structure | Look for moisture damage and fix gaps monthly |
| Ventilation | Clean vents and ensure airflow weekly |
| Electrical | Get a professional safety check twice a year |
Ventilation plays a big role in preventing moisture buildup and ensuring a comfortable experience. Place vents below the heater for air intake and at head height for exhaust to keep air flowing properly [2].
Preventive care can save you time and money in the long run. Here are a few tips to protect your sauna:
- Apply a sealant to cedar annually to keep its moisture-resistant qualities intact.
- Inspect insulation for any signs of wear or damage.
- Check electrical connections for corrosion or other issues.
- Keep an eye on drainage around the foundation, especially after heavy rain.
For more detailed advice on building or choosing the perfect sauna, check out resources like Find the Home Sauna of Your Dreams (tophomesauna.com), which covers everything from structural needs to popular sauna models.
FAQs
What are the best foundation options for outdoor saunas?
For outdoor saunas, concrete slabs provide the most stability and durability. A well-made slab should be 4-6 inches thick and include a slight slope for drainage [1]. Other options include:
- Reinforced wooden decks (treated for outdoor conditions)
- Concrete pavers (easier to install and adaptable to uneven ground)
- Gravel bed foundations (ensure proper compaction for stability) [1][3]
How do I prepare the site?
Start by clearing any vegetation, then excavate about 6 inches of soil. Compact the ground and add a layer of gravel to improve stability and drainage. Make sure the surface is level and allows water to run off properly [1].
What electrical considerations are important?
Sauna heaters require professional electrical work. Proper grounding and GFCI protection are critical for safety. According to safety standards:
"The sauna heater needs a high-voltage current supply of 400 V with a feed line of 5 x 2.5 mm²" [3]
How should ventilation be set up?
To ensure good air circulation, place intake vents below the heater and exhaust vents on the opposite wall at head height. This setup promotes even heat distribution and enhances comfort, as described in the ventilation guidelines [4].
What's the best building material?
Western Red Cedar is often the preferred choice for outdoor saunas. It's durable, resists moisture, and has a natural, pleasant aroma [1]. This recommendation aligns with earlier discussions on materials.
Do I need permits?
Check your local building codes to determine if permits are required, especially for electrical work and heating systems [3]. Regulations vary by location, but most areas have specific rules for outdoor structures.
Proper site preparation, high-quality materials, and professional installation are key to ensuring your sauna is safe and long-lasting. For more detailed advice, visit resources like Find the Home Sauna of Your Dreams at tophomesauna.com.